Keeping a clean kitchen is crucial for the health and comfort of the home, but when it comes to cleaning the oven, most of us have a bad habit of blowing it off.
It’s understandable. When the oven door is closed, it’s out of sight, out of mind. And while we might have a few minutes to spare in our busy lives to wipe down grease on countertops, who has the time to scrub down an oven?
The chances are good that your kitchen is long overdue for an oven cleaning. But even though it may sound daunting, there are tools right at home that can make easy work of getting a sparkling, spotless shine.
There’s no need to run to the store for expensive commercial oven cleaners. We’ll show you how to make a convenient and effective solution today. With these safe, all-natural oven cleaning tips, you’ll be amazed at how easy it is to get incredible results every time.
Non-Toxic Oven Cleaning with Baking Soda and Vinegar
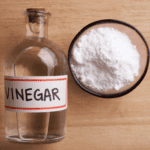
When you need to refresh your oven, start with one of our favorite DIY approaches — cleaning with baking soda and vinegar. These versatile ingredients are safe and powerful against grease, burnt-on food, and irritating odors that often plague a dirty oven. Whether you have a gas oven or an electric model, here’s how you can make a simple natural oven cleaner to tackle even the toughest messes.
Supplies You’ll Need
- Rubber gloves
- Water
- Baking soda
- Essential oils (optional)
- Paintbrush
- Plastic scraper
- Spray bottle
- Distilled white vinegar
- Cloth or paper towel
1. Make an Oven Cleaner with Baking Soda and Water
Before starting, it’s best to plan your oven cleaning schedule. It takes several hours for this non-toxic oven cleaner to work (it needs to sit overnight), so make sure you don’t begin until after dinner if you plan on using your oven.
To make your oven cleaner, mix ¾ cup baking soda with ¼ cup warm water. Stir it together until you get a consistent cleaning paste.
One cup of this oven cleaner is sufficient for a standard-sized oven, but you’ll need to double up the recipe for double ovens or larger models. No matter how much you make, keep a 3:1 baking soda to water ratio.
2. Add Essential Oils
Baking soda and water are enough to clean the oven, but you can add essential oils for added cleaning power. Studies have shown the disinfecting qualities of certain essential oils, and others can serve as degreasing additives.
Citrus-based essential oils such as lemon, orange, or grapefruit are ideal for oven cleaning. Add a few drops to your baking soda mixture before use. The limonene in citrus fruits acts as a natural degreaser, giving you an extra oven cleaning boost to help the baking soda lift grime.
Along with citrusy essential oils, you can try pine or tea tree options with your baking soda cleaner as well. These essential oils give you a similar degreasing power with a different aroma.
3. Take Off Your Oven Door
Many people skip this step, but removing the oven door makes the oven cleaning process a lot easier on your body.
Most oven doors are locked in place at the hinge. Each hinge has a clip/sheath covering it, which you can move between “locked” and “unlocked” positions. Move it to the unlocked position and with one hand on either side of the door, gently wiggle it free.
Taking the door off will make it much easier to access the deepest sections of the oven. To put it back on, slide the hinges back into place and move the sheaths back to the “locked” position.
4. Clean Oven Racks Separately
You have to empty the oven before applying your baking soda cleaner. Take the oven racks and broiler pan out so you can clean them separately.
To clean your oven racks, use a simple cleaner of hot water and dish soap, letting the racks soak for a few hours. For heavily soiled oven racks, you may need to soak them in hot, soapy water in the bathtub overnight. Add a few dryer sheets and stir into the foamy water for an extra-strength degreasing solution.
If you have stainless steel racks, you can also sprinkle baking soda on the oven racks and spray them with vinegar to lift stuck-on grease. Use a scrubbing brush or steel wool for more scouring power if a cloth isn’t working.
5. Vacuum the Interior
Using the crevice attachment, do a quick vacuuming of the oven interior, paying close attention to the minor gaps and cracks around the edges to suck up large crumbs. You can also break off chunks of stuck-on grime and vacuum them up to make your cleaning paste more effective.
6. Remove the Heating Element and Clean Separately
If your oven has an exposed heating element, you’ll want to remove it before cleaning your oven. Oven elements are normally held in place by two clips that you can remove with a Phillips head screwdriver.
In many cases, you won’t have to clean the elements because food usually gets burnt off during use. However, you can wipe them down with a paper towel to remove any stuck-on grime.
7. Coat Oven with Baking Soda Paste
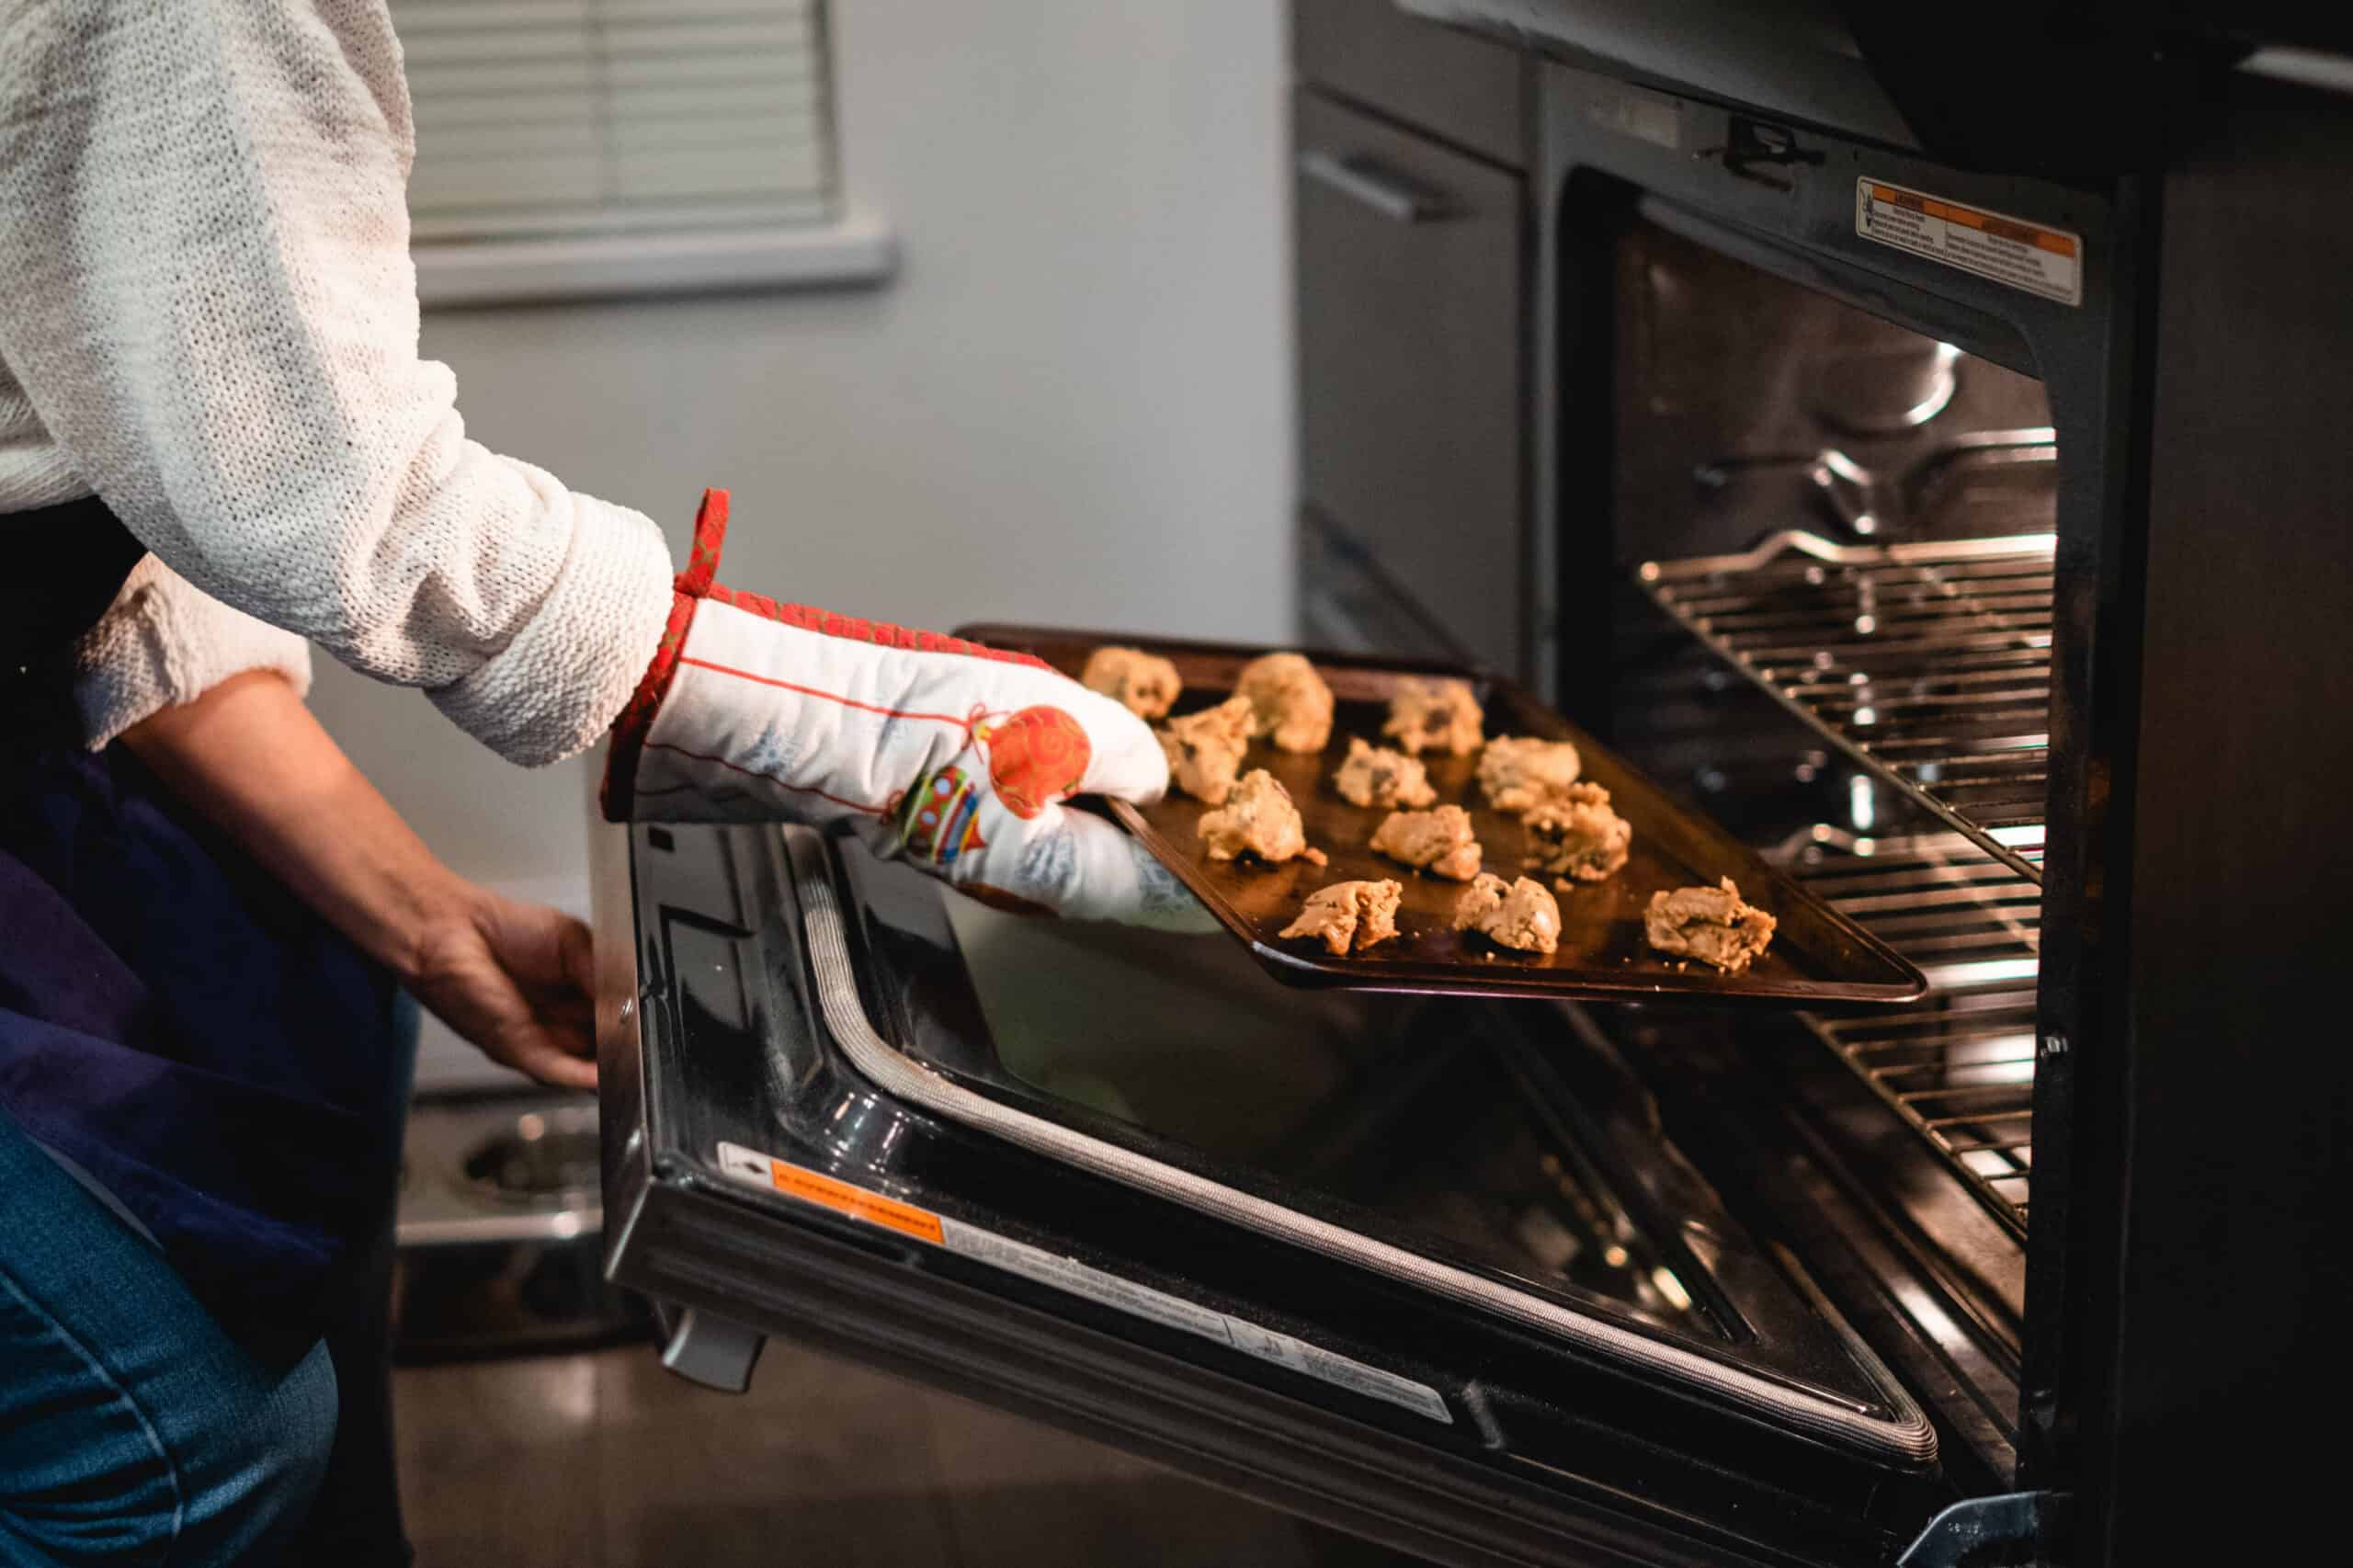
Before applying the baking soda mixture, make sure your oven is cool and turned off. Use a paintbrush to coat the entire oven interior with paste. An old toothbrush or makeup brush will help you get into tight corners. Do not coat the oven door seal or the heating elements.
Let the paste sit in the oven for several hours, preferably overnight. It’s best to let it rest for at least 10-12 hours before wiping clean.
8. Clean the Oven Door Gasket
Clean a rubber gasket with mild dish soap and warm water. If your oven door has a silicone/fiberglass door seal, you can use hydrogen peroxide. Do not use baking soda or vinegar on the gasket.
No matter the type of door gasket, make sure you do not scrub with an abrasive oven cleaner. Neither material holds up well against scrubbing, so make sure you gently wipe or blot the gasket with a clean, damp cloth.
9. Scrape with Vinegar and Wipe Down
After letting the baking soda paste sit overnight, use a cloth to wipe out as much as you can. Then, use a hard plastic or silicone spatula to avoid scratching the oven metal or glass as you scrape out the remaining baking soda mixture.
Follow up with a spritz of vinegar all over the inside of the oven. Avoid hitting the gasket with your oven cleaner spray. The vinegar will react with any remaining baking soda residue, causing it to foam and lift. Use a wet paper towel or cloth to give your oven interior one final wipedown.
After wiping down, put the racks back in and — presto! — you’ve got a sparkling clean oven!
Cleaning Your Oven with Lemon
If cleaning your oven with baking soda is out of the question, you can look to lemon for more natural cleaning solutions. For a greasy oven door, degreasing can often be as simple as rubbing half a lemon all over the oven glass and wiping clean with a damp cloth. When you need a complete DIY oven cleaning solution, you can try these two approaches.
Steam Cleaning with Lemon
Water and a few drops of lemon make a great natural oven cleaner. Get your oven cleaned with the steaming method:
- Squeeze the juice from a lemon
- Fill an oven-safe bowl or pan with water and the lemon juice
- Heat the bowl in the oven until the water steams
- Turn the oven off and let it cool
- Wait at least 20 minutes for the steam to circulate
- Open the door and wipe down the entire oven interior with a damp cloth
Pro Tip: Don’t have any lemon? Distilled white vinegar makes an excellent substitute! Mix one part water with one part vinegar and steam your natural oven cleaner as you would with lemon before wiping clean.
DIY Oven Cleaner with Lemon
If the steam method doesn’t sound ideal, there’s another homemade oven cleaner you can make with lemon instead of using the baking soda method. You can create a potent yet non-toxic oven cleaner spray with lemon juice and dish soap.
- Heat the juice from two lemons with water until it reaches a boil
- Remove from heat and mix in 1 tbsp of mild dish soap
- Allow to cool
- Transfer to spray bottle
- Spray the oven cleaner around the interior and use a stiff brush to scour away grime
If you need a grime-busting boost, you can mix some of your lemon and water mixture with baking soda to make a paste. Put the baking soda on tough spots and scrub with a brush or sponge.
Using the Self-Cleaning Function
An oven’s self-cleaning function might sound like an even easier solution than a non-toxic oven cleaner. But if you have an older stove, this function is rarely practical.
How can you tell if you have an older self-cleaning oven? If you see an exposed heating element on the bottom, your stove is an older model. Let’s look at the difference in how self-cleaning works between modern ovens and older models.
The Old Self-Cleaning Style
An old self-cleaning oven works by applying high heat to clean the interior. These self-cleaning models reach temperatures of over 800F to burn off baked-on grease and grime. After the oven cools, you can scrape the walls clean.
These high temperatures are dangerous, so the oven locks in self-cleaning mode. If someone accidentally opened the door while the oven was cleaning, it could cause a severe injury.
The Problem with Self-Cleaning Ovens
There are several issues with the old style of self-cleaning ovens. If you have one of these models, the best oven cleaner is your baking soda solution.
To start, the high heat from a self-cleaning oven will cause issues with anything more than minor messes. The heat can burn off massive clumps of grime, which could cause it to smoke and put off nasty odors. It could even present a fire risk if it ignites any grease or food particles.
Using the New Self-Clean Function
If you open your oven and don’t see a heating element on the bottom, you have a newer oven model with a steam clean function. The oven floor has a recession to hold a small amount of water. When you turn the steam function on, it heats the water on low heat to make it steam.
As you can imagine, this self-cleaning style is more energy-efficient, less time-consuming, and much safer than older versions. The entire oven cleaning process takes about 30-45 minutes, compared to the 2-3 hours that self-cleaning models take to clean.
Steam Clean with Natural Oven Cleaners
Although you won’t want to use commercial oven cleaners with your steam clean function, this is a perfect place to try lemon or vinegar. Instead of steaming the cleaner in a separate bowl, add some lemon juice or vinegar to the water in the bottom of your steam cleaning oven and put it on a cleaning cycle.
How Often Do You Need to Clean Your Oven?
To keep your oven at peak performance, you should clean your oven at least once every three months. If you do a lot of baking, you may have to do it once a month.
The best way to tell if you need an oven cleaning is to look at it. If it was left to catch grease drippings on the floor and walls, it’s probably a good idea to give it a cleaning before the grime gets caked on too thick. And if it’s at the point where smoke rolls out of the door every time you open it, that’s a sure sign it’s time for a deep clean.
Why Do I Need to Clean My Oven?
Keeping your oven clean is an essential safety measure. At a certain point, when you heat an excessive buildup of grime, grease, and debris, you risk starting a fire in the oven. And before that happens, you’ll likely end up creating a ton of smoke, which will not only affect the taste of whatever you’re baking but also weaken the indoor air quality.
Safety concerns aside, oven cleaning also improves efficiency. After you deep clean your oven, it will take less time to pre-heat, and the heat distribution will improve. That means that your food will be baked faster in a clean oven, saving you time and energy.
Keeping the Oven Glass Clean
It may not seem like a huge deal, but true bakers appreciate a spotless glass oven door. It makes the kitchen look better and it makes baking easier.
With a clean door, you won’t have to open it to check on your food. That will keep heat from escaping, saving you time and, in some cases, keeping your bake from being ruined. Try using a homemade glass cleaner or even a Magic Eraser to clean your door.
Maintaining the Seal
Cleaning the oven door seal is critical in maintaining the oven’s performance. A dirty seal can open small air gaps that let heat escape, making food bake unevenly or take longer to cook.
If you have a rubber seal on your door, it’s crucial to clean it regularly. Grease and grime that attach to the door over time can degrade the rubber, causing it to fail and warrant a replacement before long.
The Problem with Commercial Oven Cleaners
At this point, you may be wondering why baking soda and vinegar make the best oven cleaner. Is a natural oven cleaner that much better than conventional oven cleaners?
While it’s true that they’re very effective at removing gunk, standard cleaning products are also highly toxic. The same materials in these sprays that break down old burnt-on food can be hazardous to your health. These products commonly contain caustic chemicals that can irritate your eyes and skin, while the fumes can cause dizziness, headaches, and breathing problems.
When working with conventional oven cleaners, you must take extra precautionary steps. The kitchen must be well-ventilated, and you should wear a mask, goggles, gloves, and long-sleeved clothing to prevent contact with the solution. A natural oven cleaner like baking soda and vinegar, on the other hand, can be safely handled with just a pair of rubber gloves.
Get Help with Your Oven Cleaning Project
It takes time to clean an oven naturally, but like baking, most of it just involves the “set it and forget it” technique. The actual amount of time and elbow grease you need to expend to get a sparkling clean oven is nominal, and you’ll be glad you put in the effort to use a natural oven cleaner with baking soda or lemon. You’ll get stunning results without having to worry about harsh chemicals or adverse health effects.
Want an extra hand getting your oven clean? Contact Anita’s to quickly find the best local cleaning expert to help you handle the housework. Request a booking today to take the hard work of oven cleaning off your plate!

