Ever scratched your stainless steel appliances by accident? You’re not alone. In this guide, I’ll show you how to fix scratches on stainless steel, using a method that worked wonders for me. Learn how to make your appliances look as good as new.
Before You Begin: Important Tips
- Assess the Depth of the Scratch. Deep scratches and fine scratches are handled differently; assess your scratch to see what you are dealing with
- Follow the Grain. When buffing or polishing, always follow the grain of the stainless steel to preserve the original finish
- Avoid Abrasive Cleaners. Never use an abrasive cleaner like baking soda on coated stainless steel surfaces
- Confirm It’s Stainless Steel. Ensure it’s not chrome or another material; wrong cleaning methods can cause damage
How To Fix Light Scratches on Stainless Steel
Can you remove scratches from stainless steel? Yes, but fine scratches are certainly easier than deep scratches to remove. Bar Keeper’s Friend is one of the best products for removing these stainless steel scratches and getting your surfaces looking new again.
Supplies And Tools
- Microfiber cloth
- Bar Keeper’s Friend
- Water
Step 1: Identify The Depth of The Scratch
For light scratches on stainless steel, Bar Keepers’ Friend is your best option. However, if the scratch appears deep and has penetrated beyond the surface, refer to the next method tailored for deeper scratches.
Step 2: Clean The Stainless Steel
Clean your stainless steel surface with a product like Weiman Stainless Steel Cleaner before addressing scratches to avoid creating new ones.
Step 3: Use Bar Keeper’s Friend
Apply a small amount of Bar Keeper’s Friend, which contains oxalic acid, directly to the scratch on the stainless steel. Use a damp cloth to rub it in with medium pressure.
Step 4: Continue to Apply Following the Grain
Check the stainless steel for remaining scratches. If you still see them, reapply Bar Keeper’s Friend and rub along the stainless steel grain for a more uniform look before moving on to the final steps.
Step 5: Wash
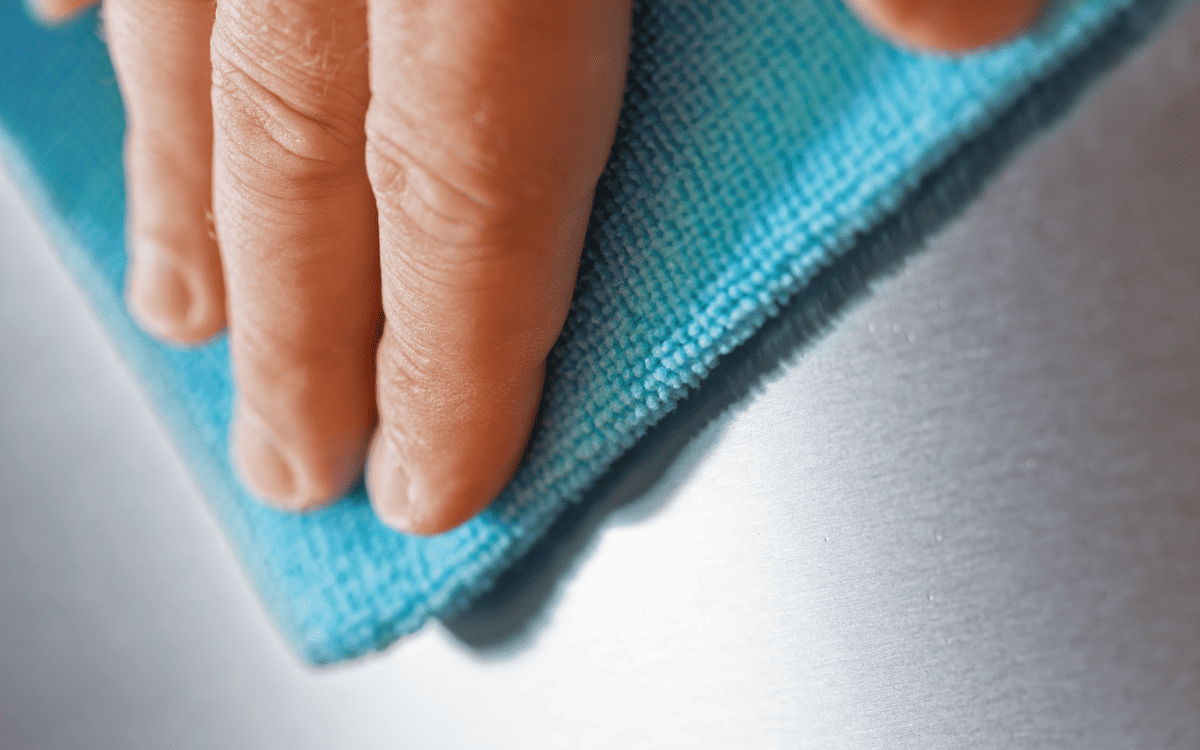
Once you are finished, wash the Bar Keepers Friend directly from the stainless steel. I usually use a microfiber cloth that is wet or damp and just wipe the surface clean.
Step 6: Repeat If Necessary
Check to see if all of the stainless steel appliance, sink, or surface is completely clean, and then repeat the process if necessary. If you have followed this method twice using Bar Keeper’s Friend and noticed that it is not working, move on to the next method to remove deep scratches.
How To Fix Deeper Scratches on Stainless Steel
For deep scratches, Barry’s Scratch B-Gone is the best choice among stainless steel scratch removers. Designed specifically for stainless steel, the kit includes everything you need for cleaning and scratch elimination. I’ve personally had multiple successes with it. It may take more time, but it’s worth trying before resorting to professional help.
Supplies and Tools
For this method, all you should need is the Barry’s Scratch B-Gone Kit. The kit includes:
- Patented Grip Handle
- Grey Finishing Pad
- Brown Finishing Pad
- Burgundy Foam-backed Pad
- Course Abrasive Finger Strip
- TruMetal Test Strip
- 1-1 fl. oz. Ultra Shine bottle
- Microfiber Cloth
Step 1: Check for Uncoated Stainless Steel
In order for the Barry’s Scratch B-Gone to work, you will need to be working with non-coated stainless steel. The kit comes with a TruMetal Test Strip that will tell you if you can proceed with this method or if you have to try an additional option.
Step 2: Judge the Depth of the Scratch
The kit comes with a gray finishing pad and a brown finishing pad.
- For a cosmetic scratch, use the gray finishing pad
- If the scratch is noticeable to the touch, opt for the brown foam-backed pad
- For deeper scratches that catch your fingernail, use the finger strip along with the burgundy coarse side
Step 3: Attach the Pad to the Handle
Once you have determined which scouring pad you will need to deal with the scratch, attach the pad to the handle. All of the included pads work with the handle provided.
Step 4: Apply Ultra Shine to the Pad
Apply the Ultra Shine cleaning solution in an ‘S’ shape directly onto the pad, focusing on the area that will touch the stainless steel scratch. No need to coat the entire pad.
Step 5: Scrub in the Direction of the Grain
Scrub the scratches in the direction of the grain about ten times, or more as needed. Hold the handle of the tool and apply medium pressure on the stainless steel surface. Once finished, use the included microfiber cloth to remove any excess cleaning solution and check for scratches.
Step 6: Assess Effectiveness
If the scratch remains despite following all steps, you can repeat the process up to three times. If it still persists, switch to a more abrasive scouring pad.
Step 7: Wipe Clean
Once the scratch is gone, use a microfiber cloth to remove any remaining stainless steel polish, leaving the area looking like new.
How Do You Get Scratches Out of Brushed Stainless Steel?
One of the most common methods for removing scratches from brushed stainless steel is to use a sponge and olive oil. Ensure that the sponge is not abrasive, and when you scrub the scratches with the sponge, always work in the direction of the grain of the stainless steel. Wipe the surface clean afterward to keep your stainless steel shining.
Best Practices for Preventing Scratches on Stainless Steel
Once you remove the scratch from your stainless steel sinks, stainless steel counters, or appliances, here are a few tips you can follow to prevent future ones.
- Remove jewelry before cleaning or working with stainless steel to avoid causing deep scratches
- Keep nails trimmed to minimize the risk of scratching
- Use cutting boards and mats on stainless steel counters or sinks
- Clean with a microfiber cloth and avoid harsh cleaners or steel wool
- Keep pets away from stainless steel and maintain their nails to prevent accidental scratches

